Skip to main content
Hit enter to search or ESC to close
Search
Close Search
Menu
Home
Accommodation
Double Room
Triple Room
Deluxe Suite with sea view
Deluxe Double Room with sea view
Deluxe Double Room with balcony and sea view
Deluxe Triple Room with sea view
King Suite with sea view
Superior Suite with sea view
Naxos Island
Gallery
Contact Us
Book Now
facebook
instagram
tripadvisor
phone
email
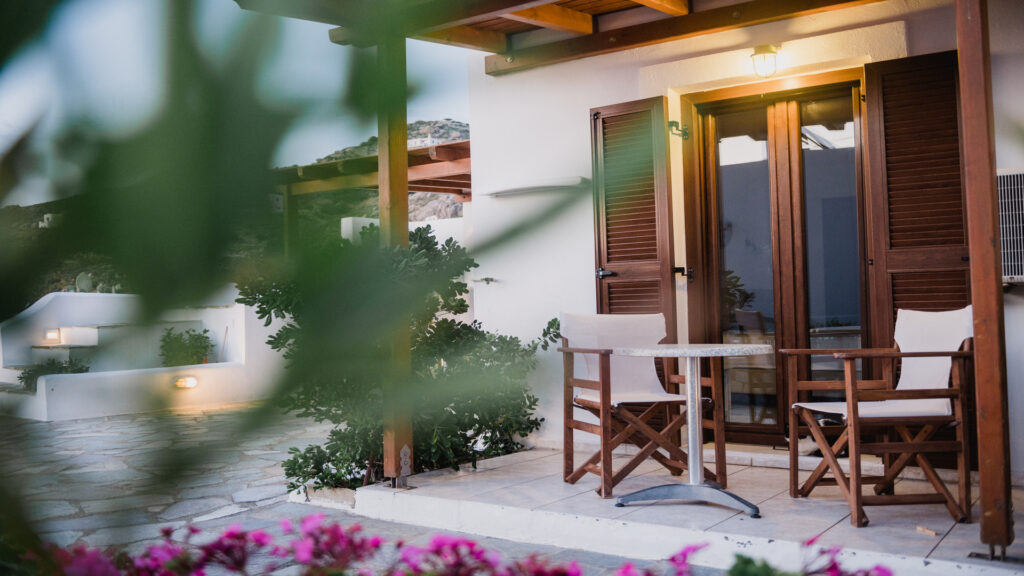
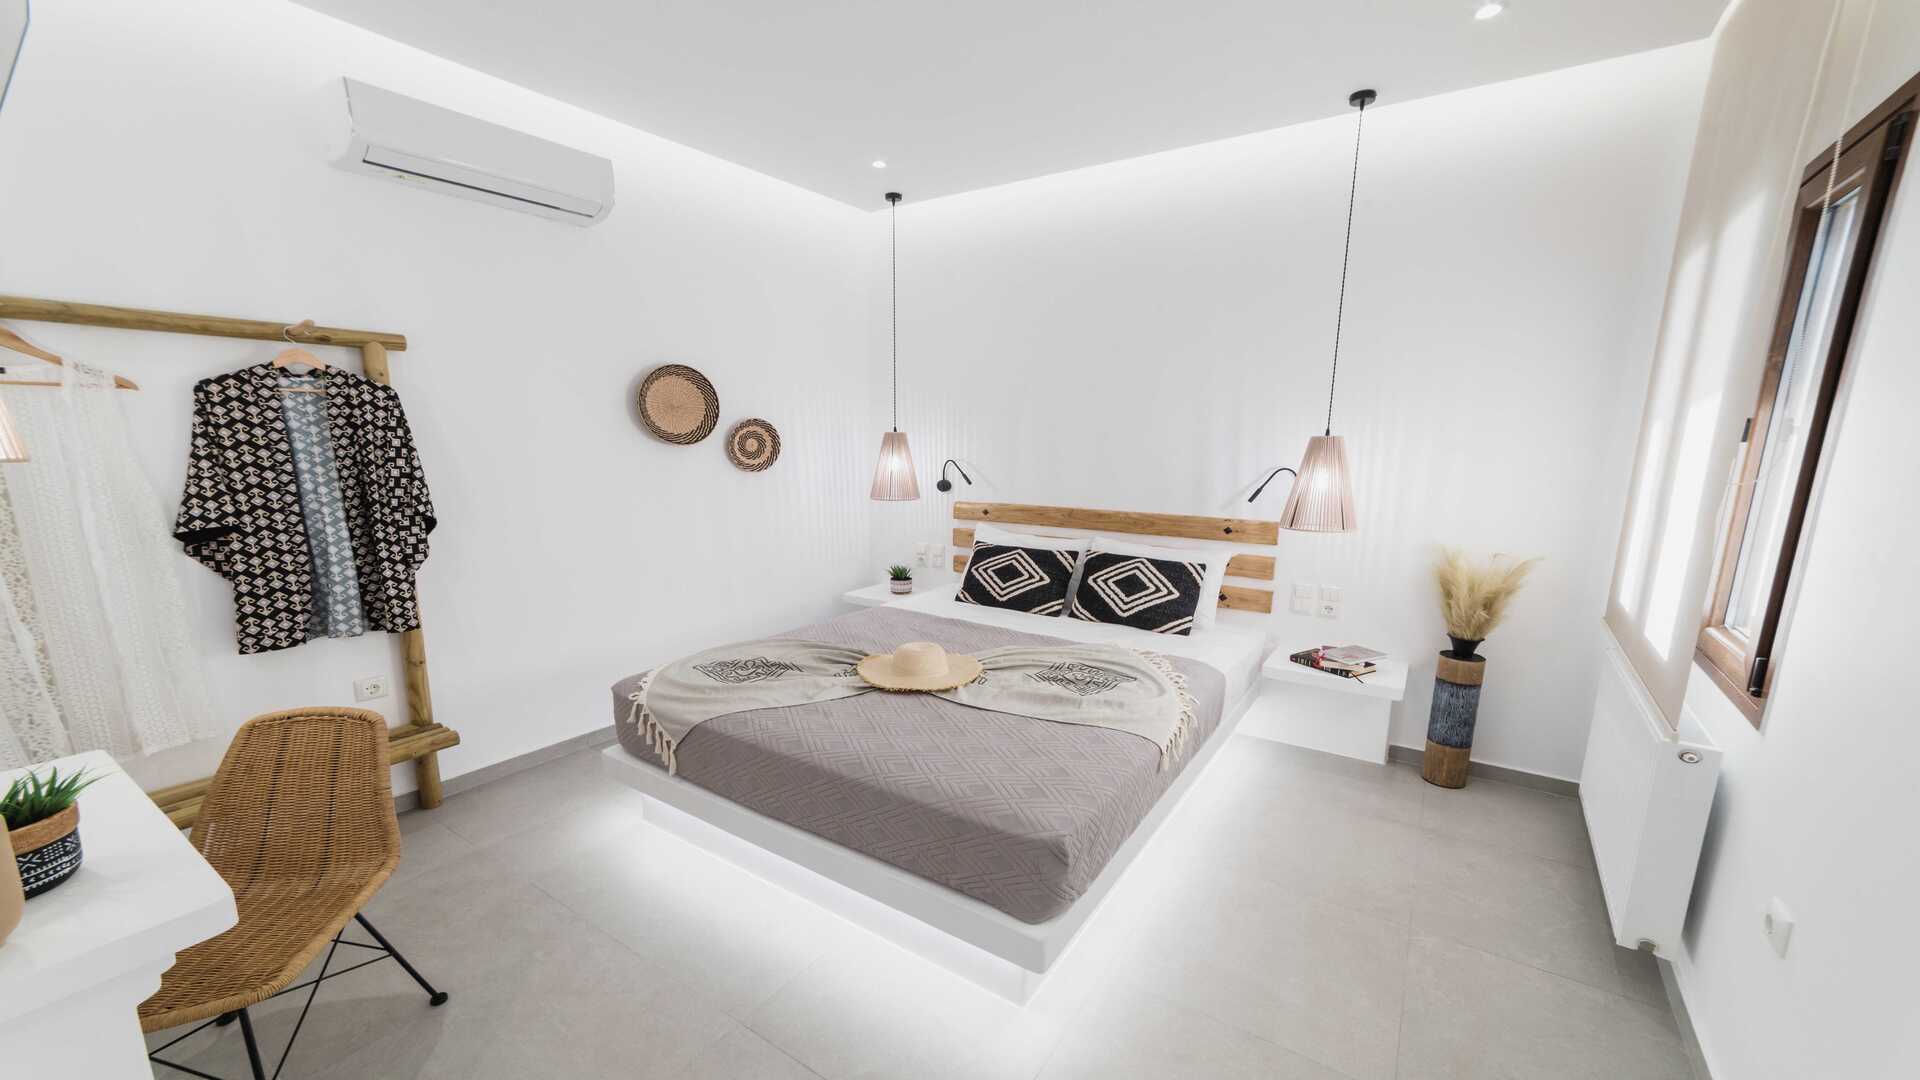
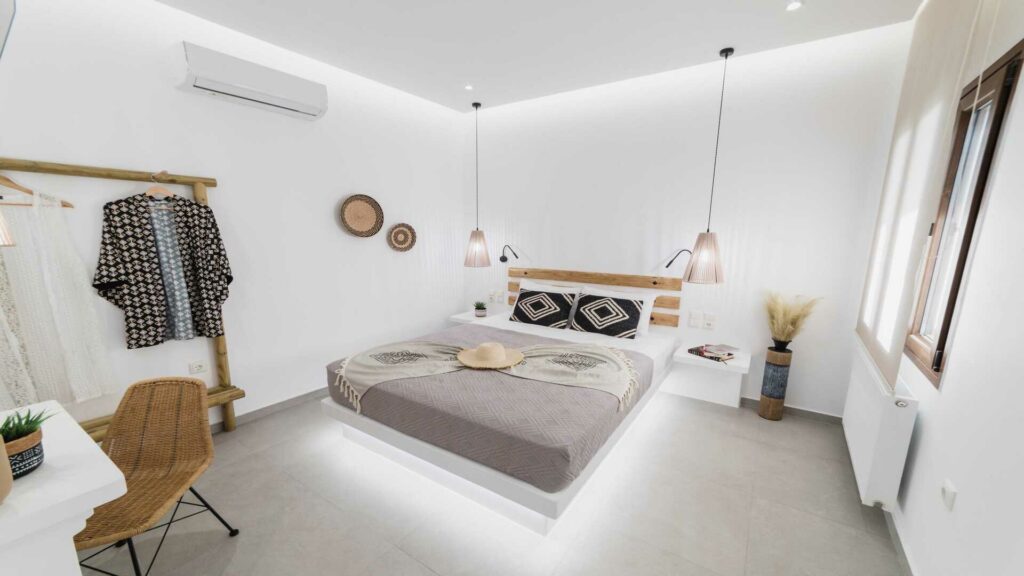
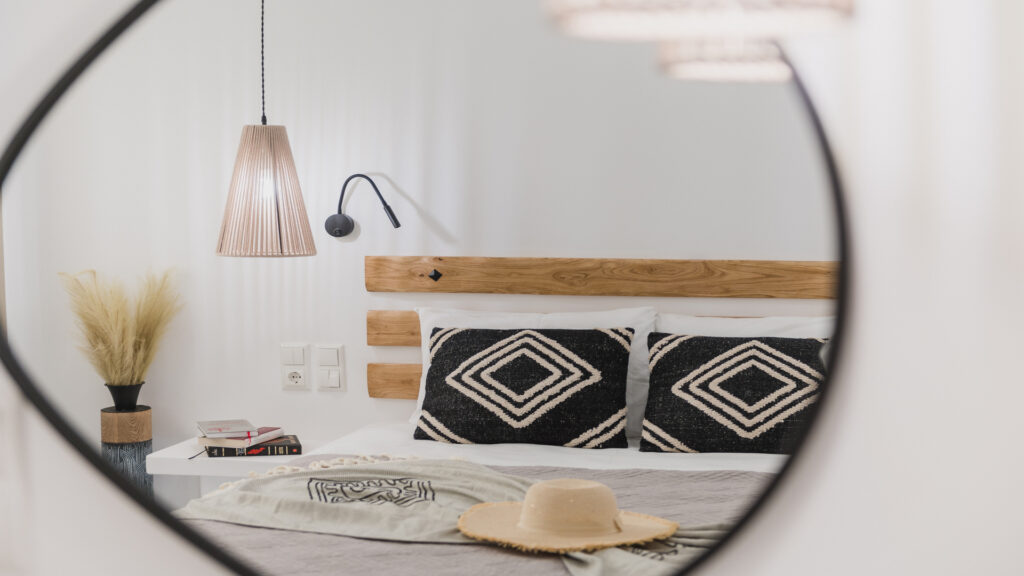
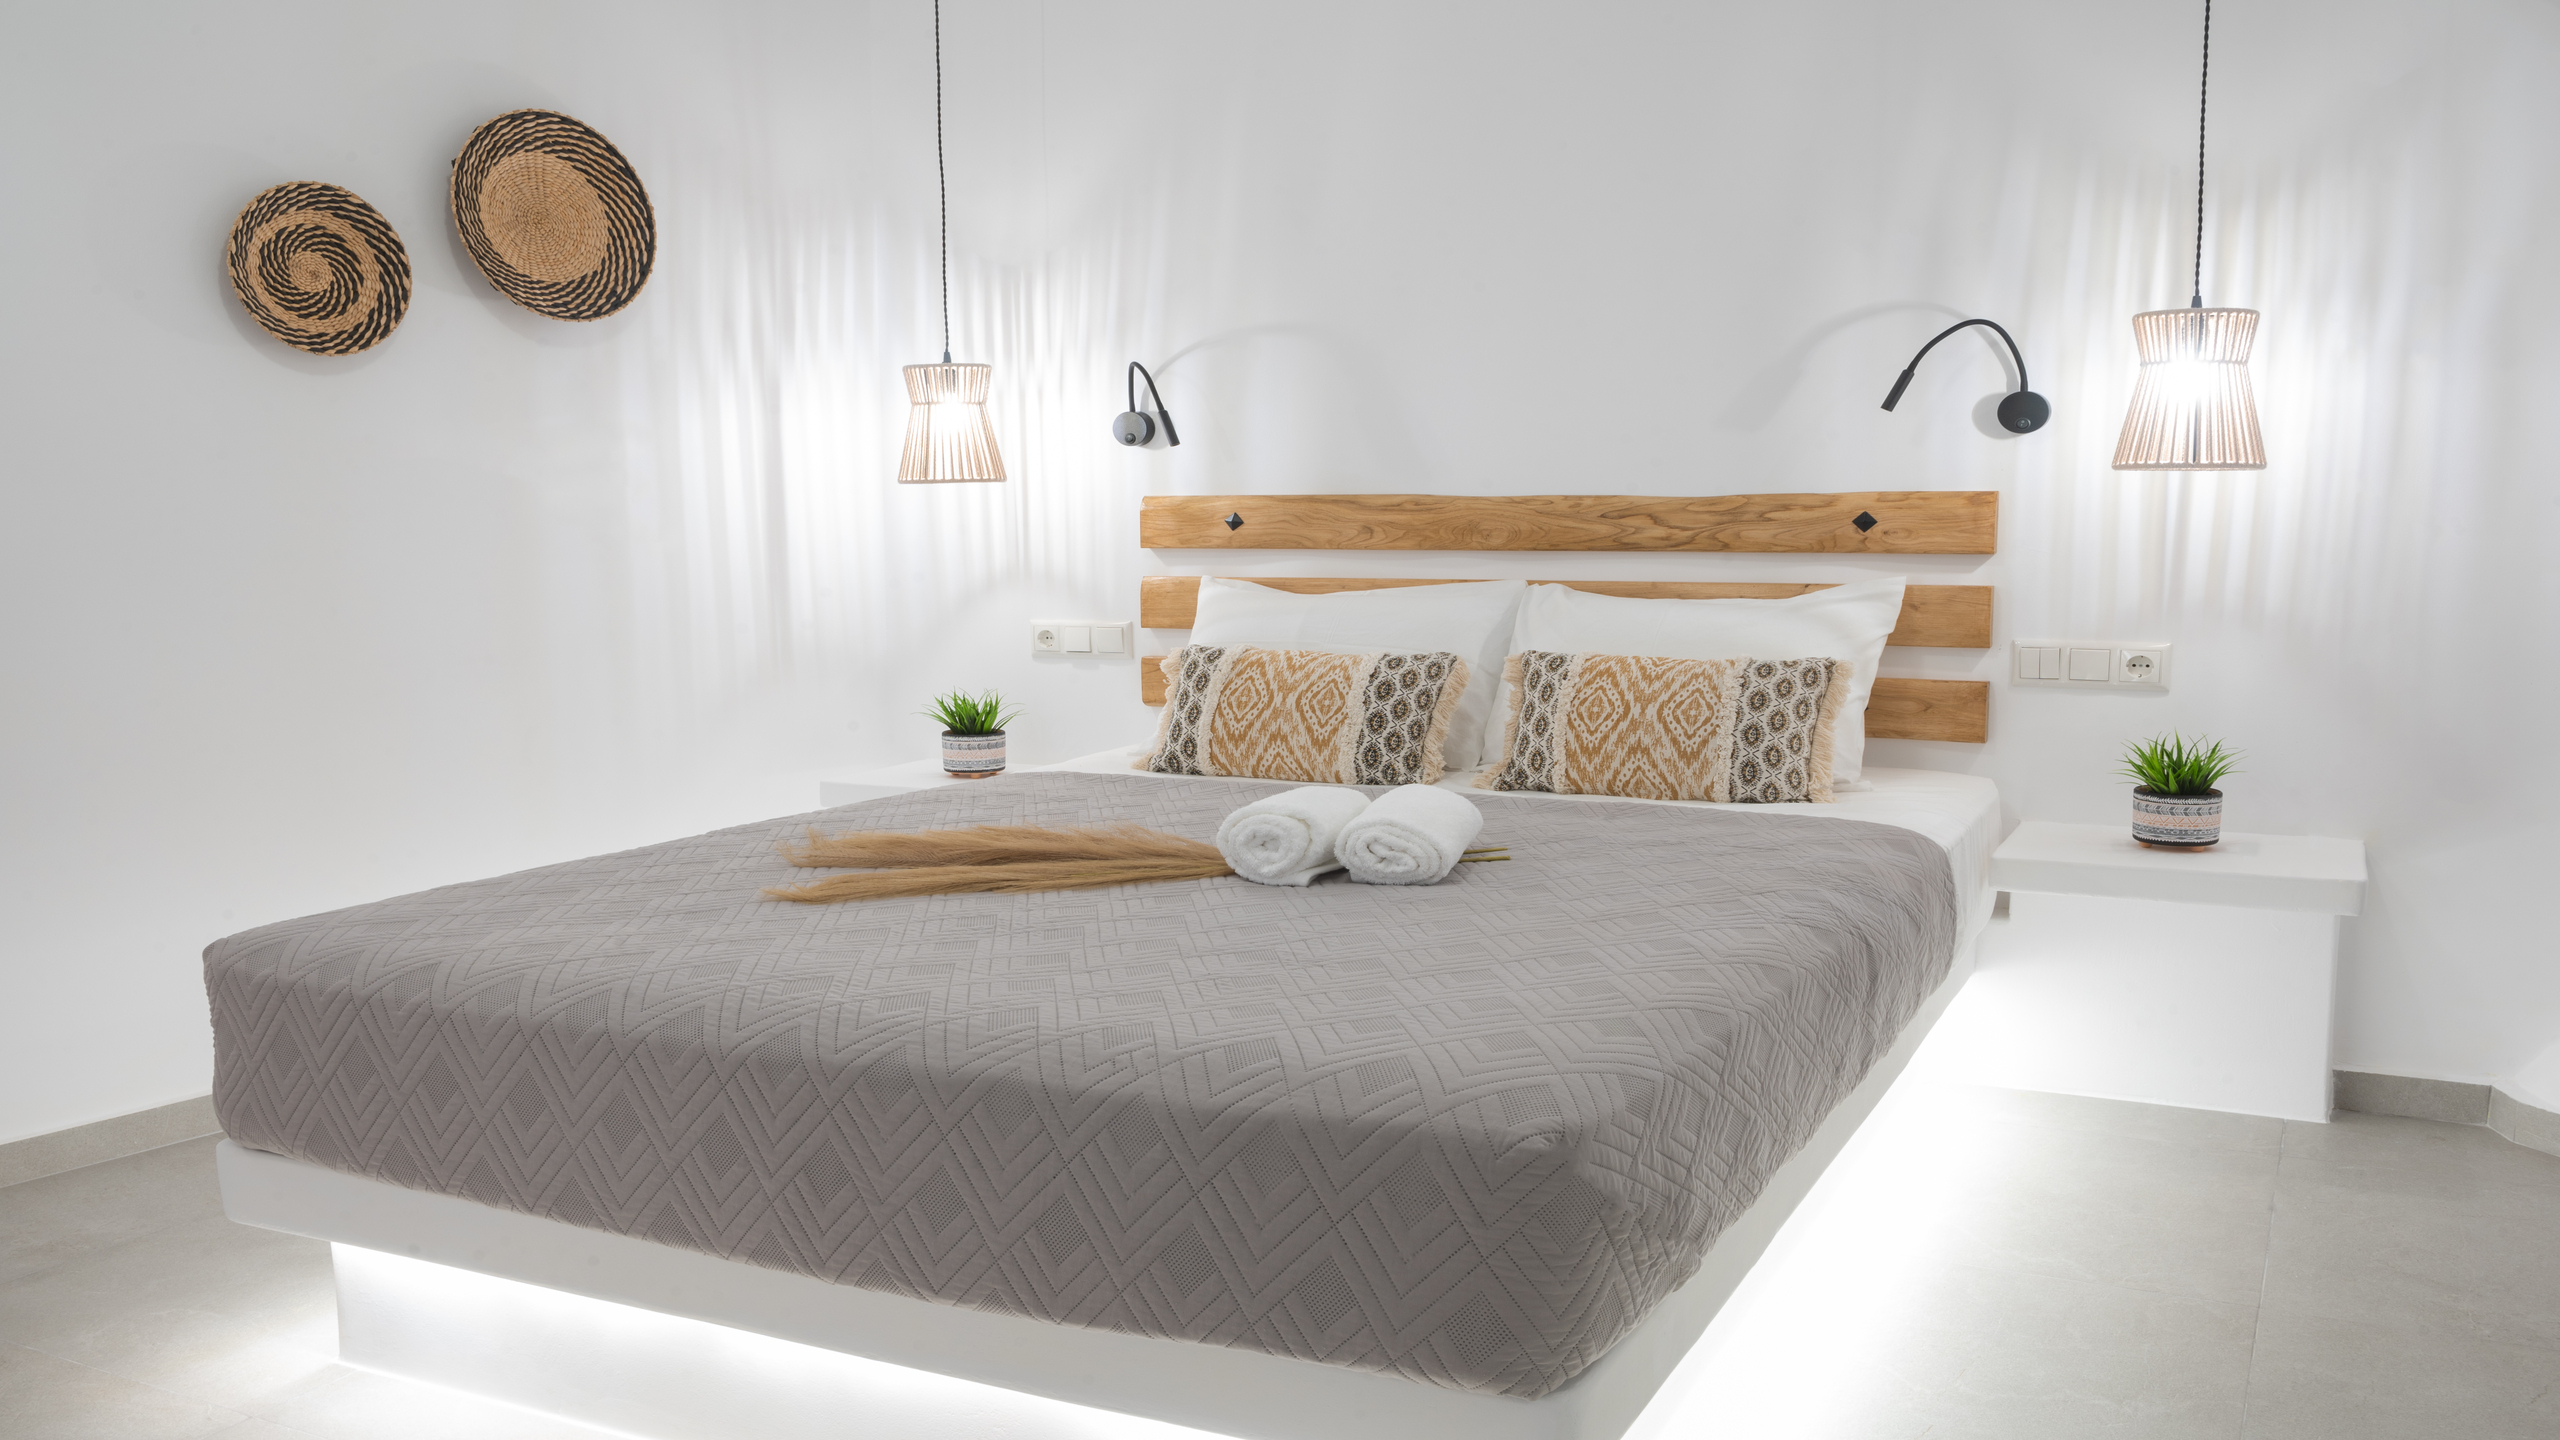
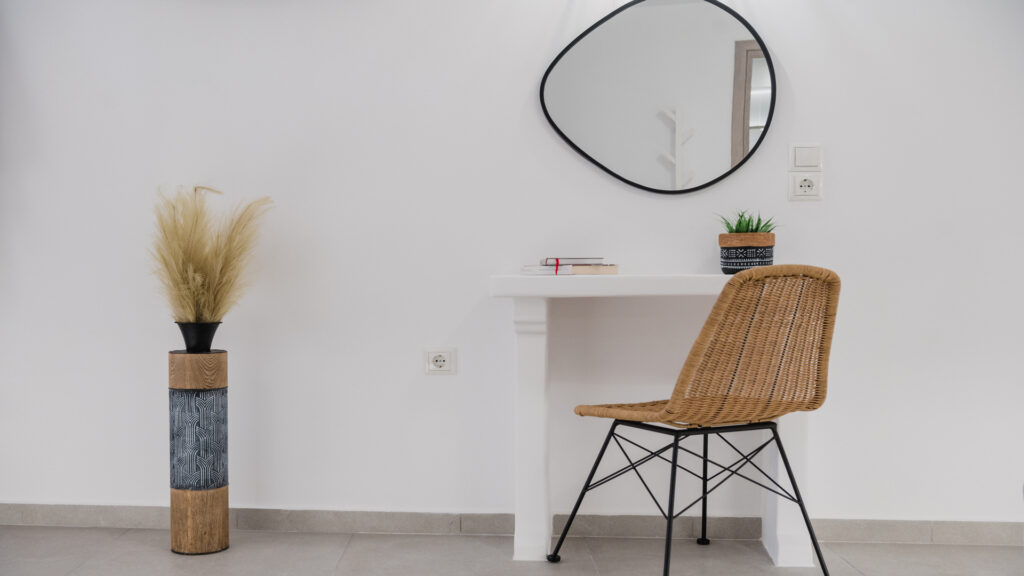
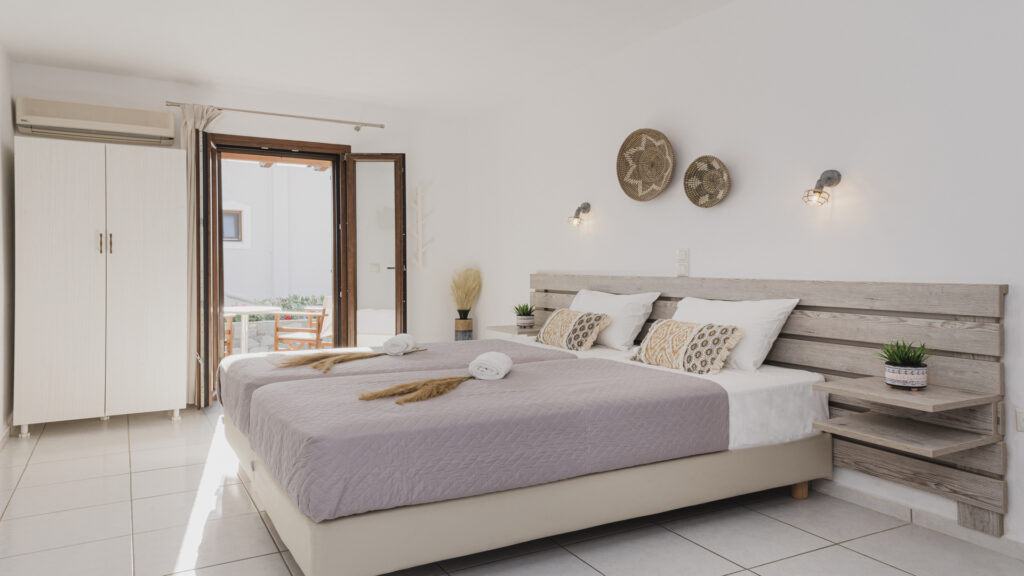
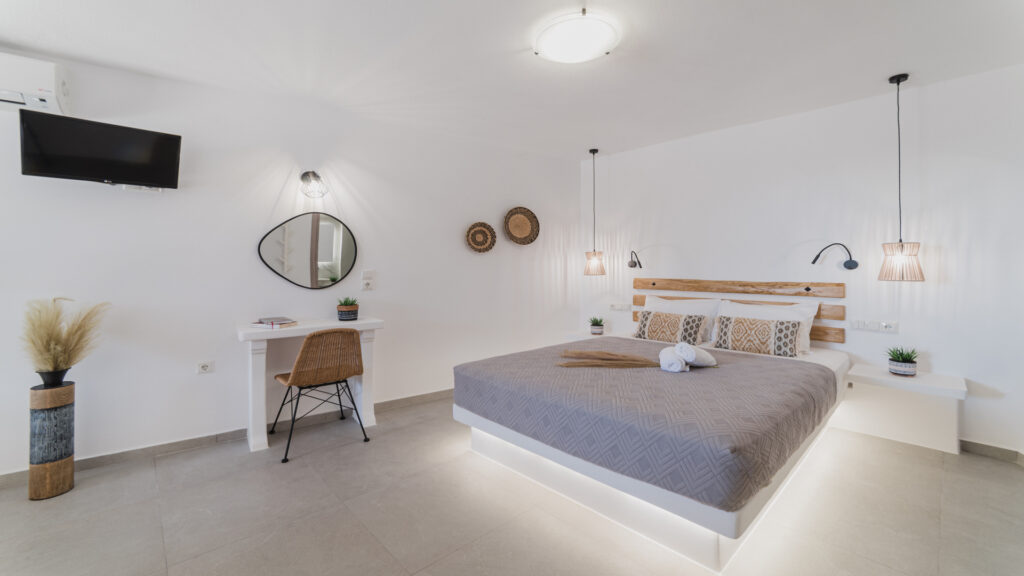
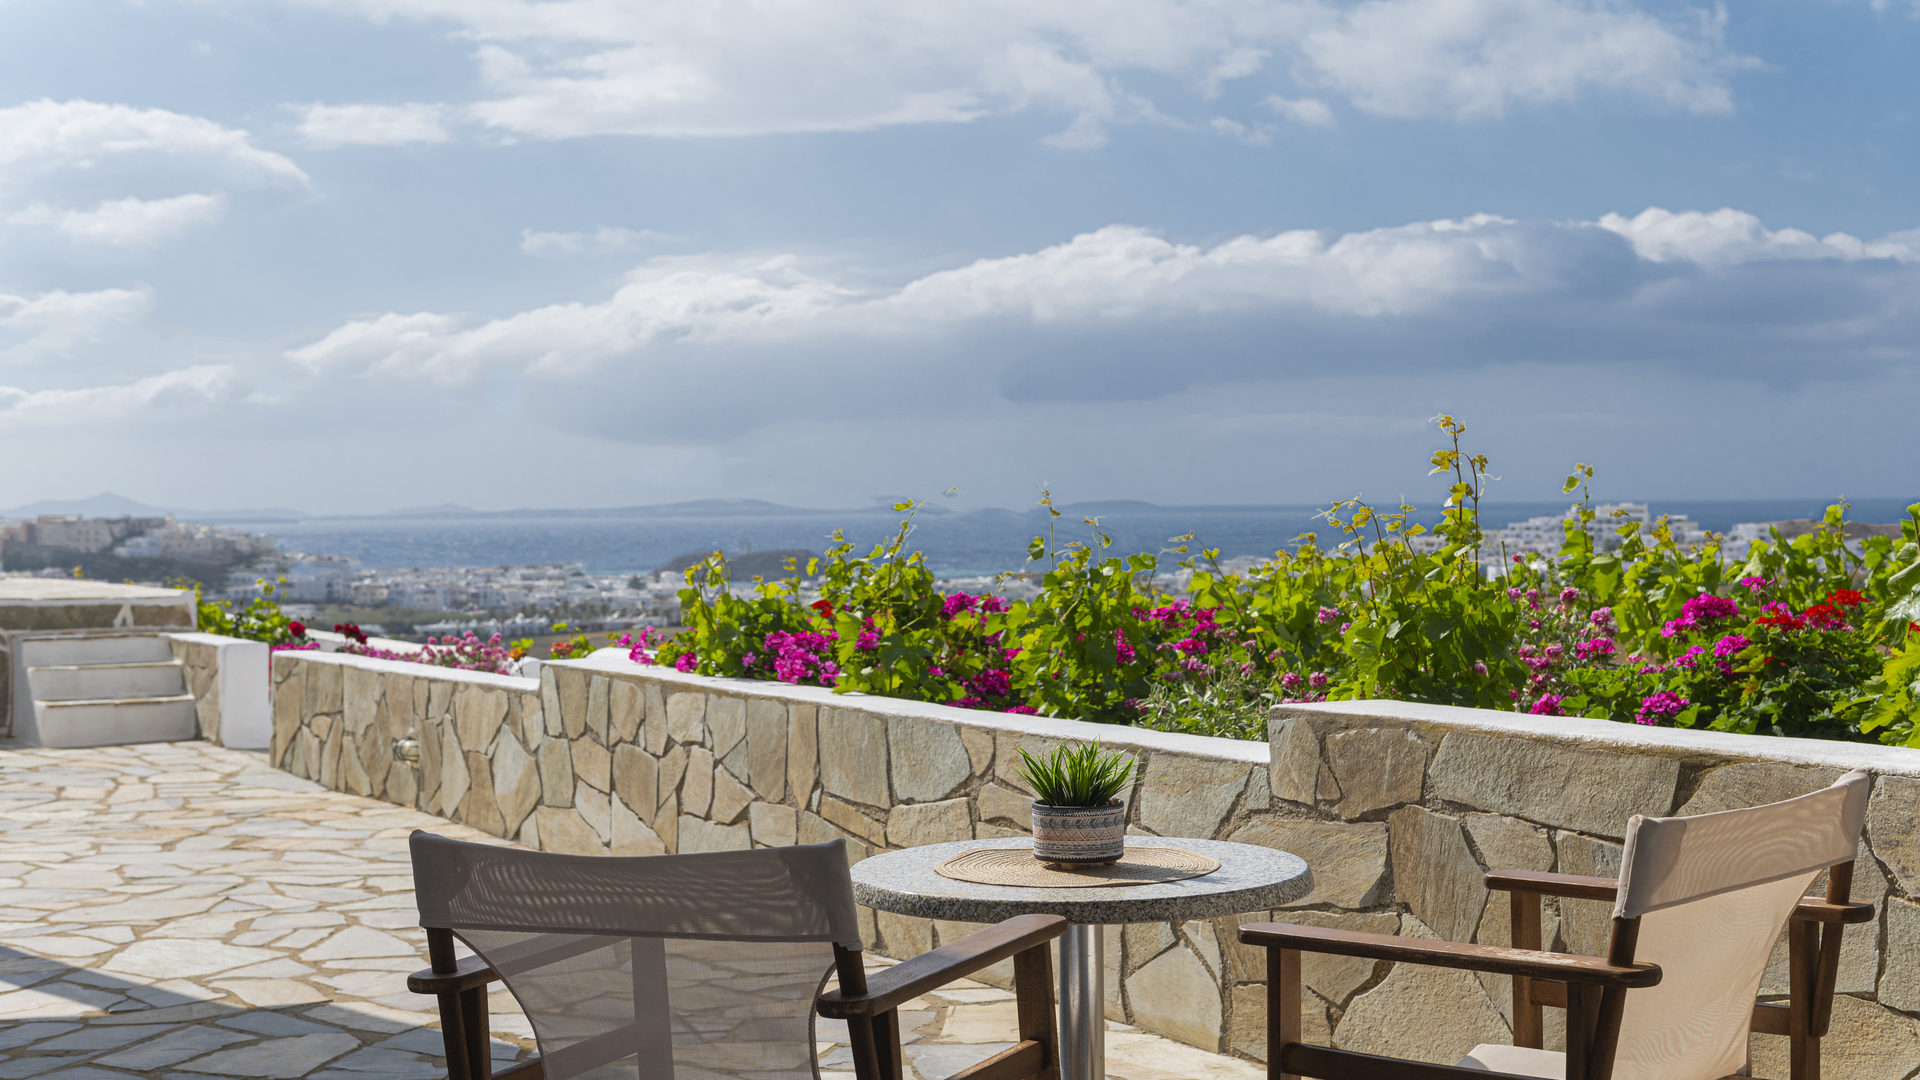
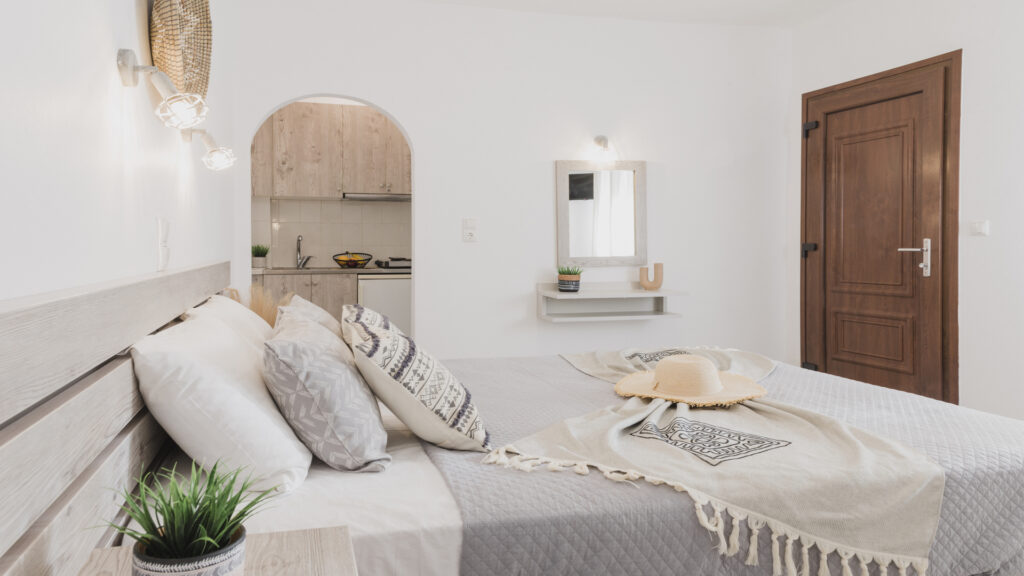
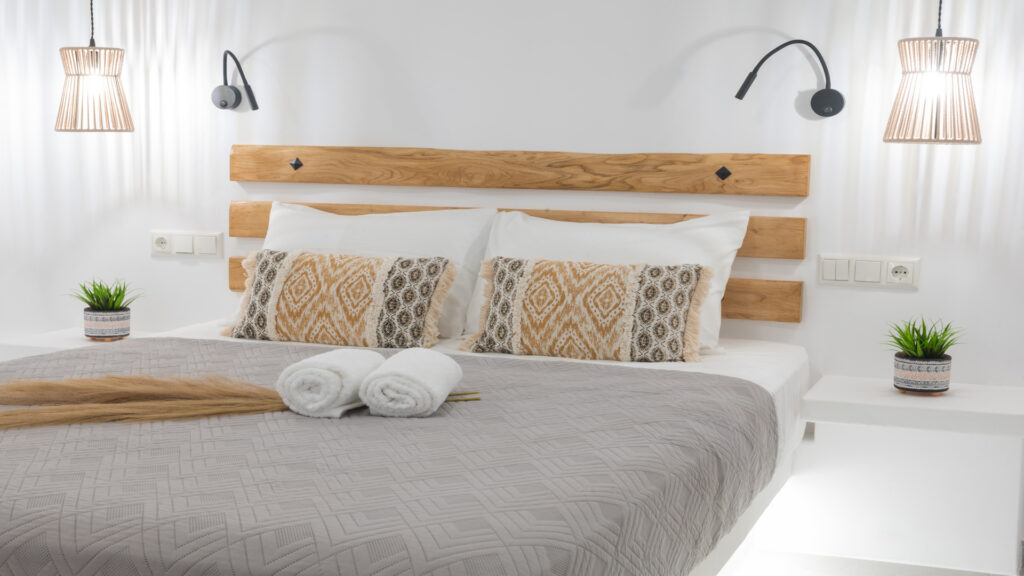
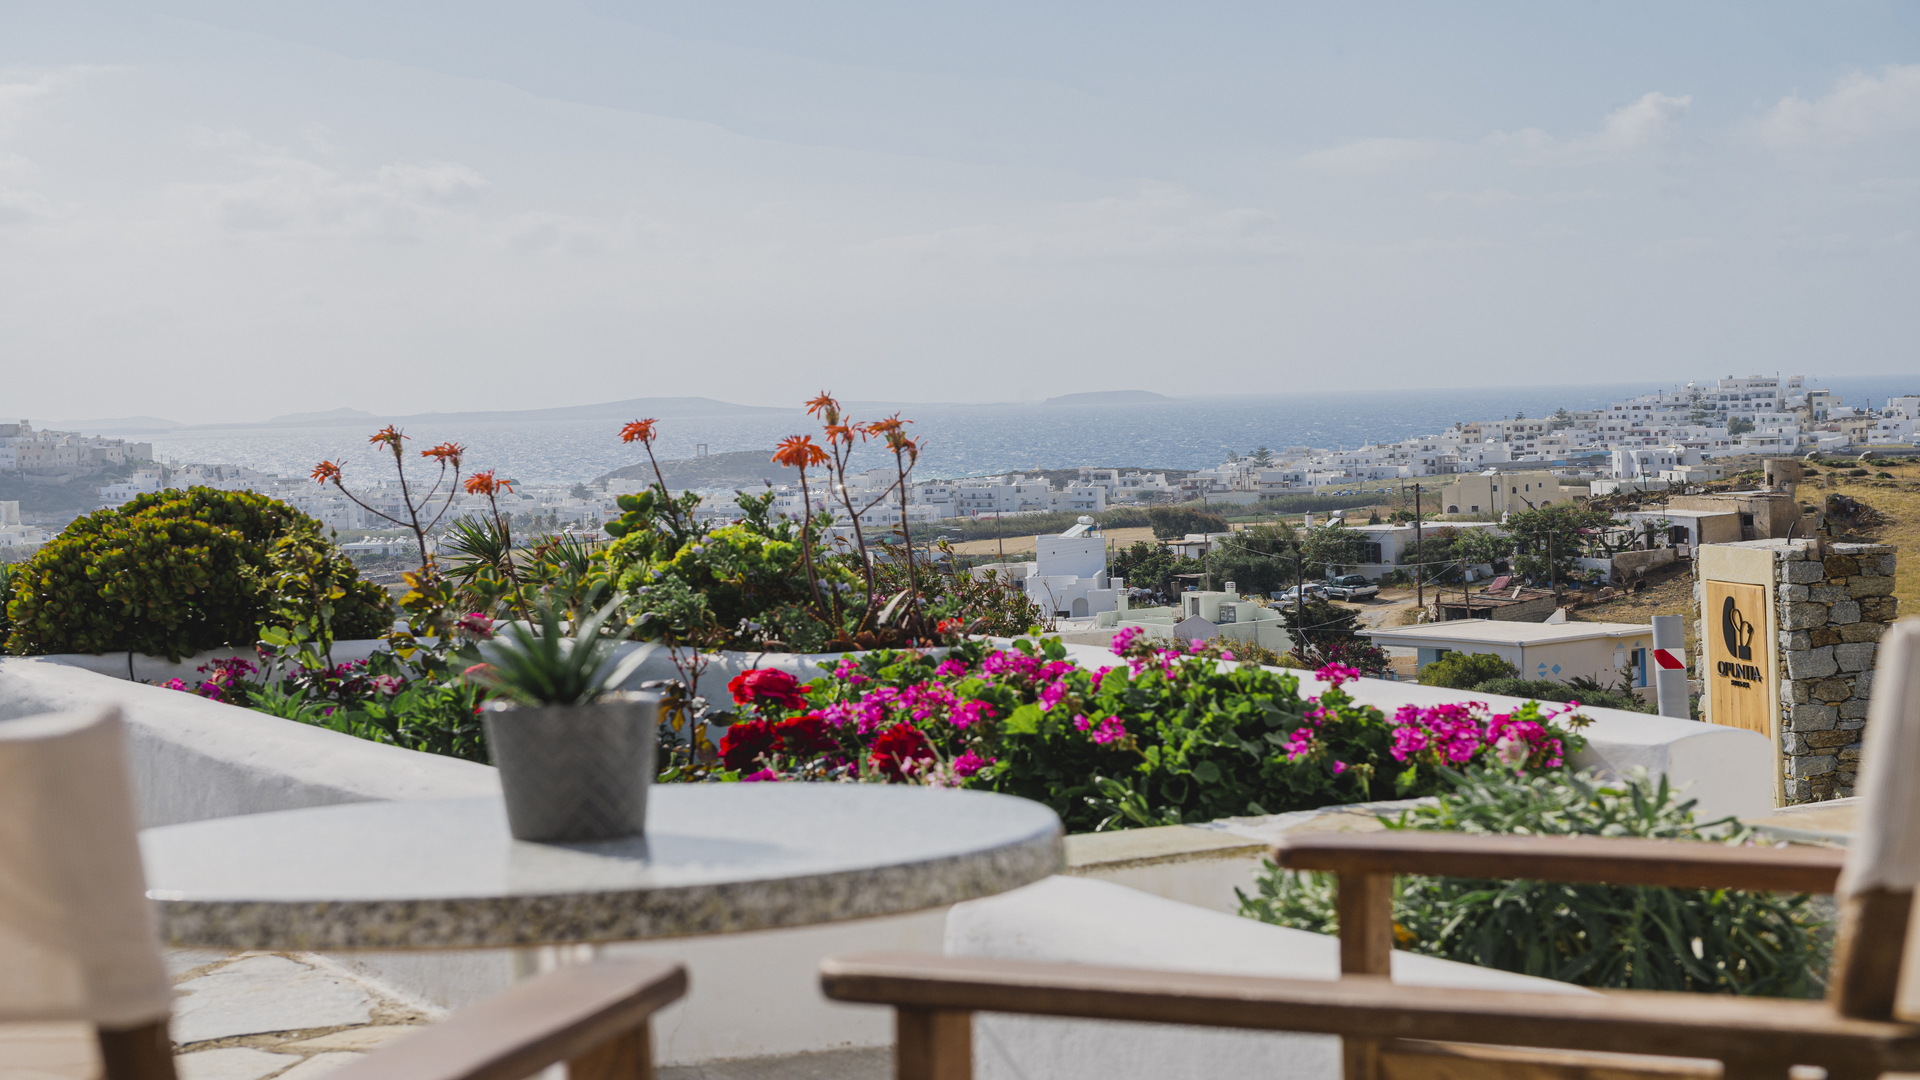
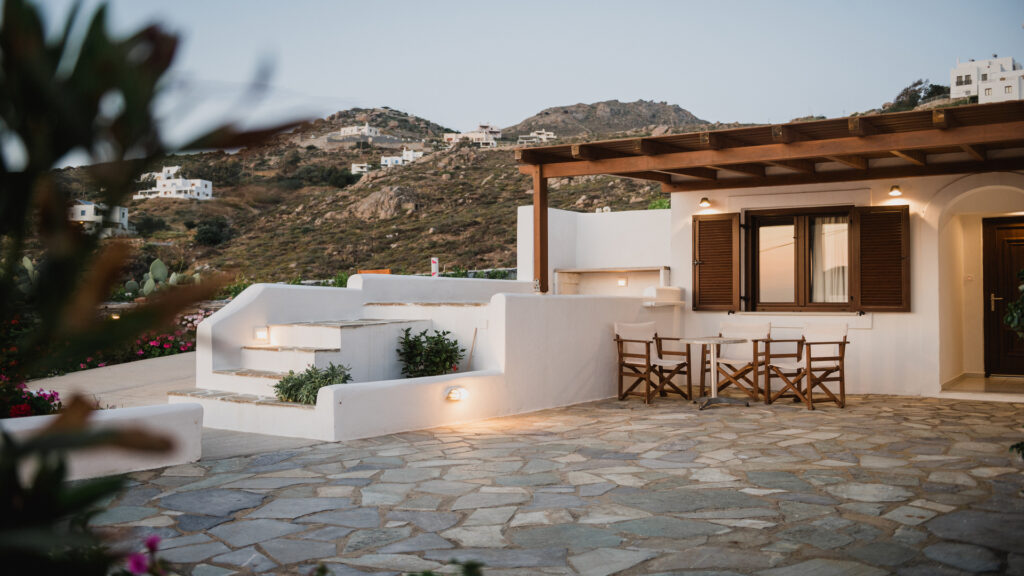
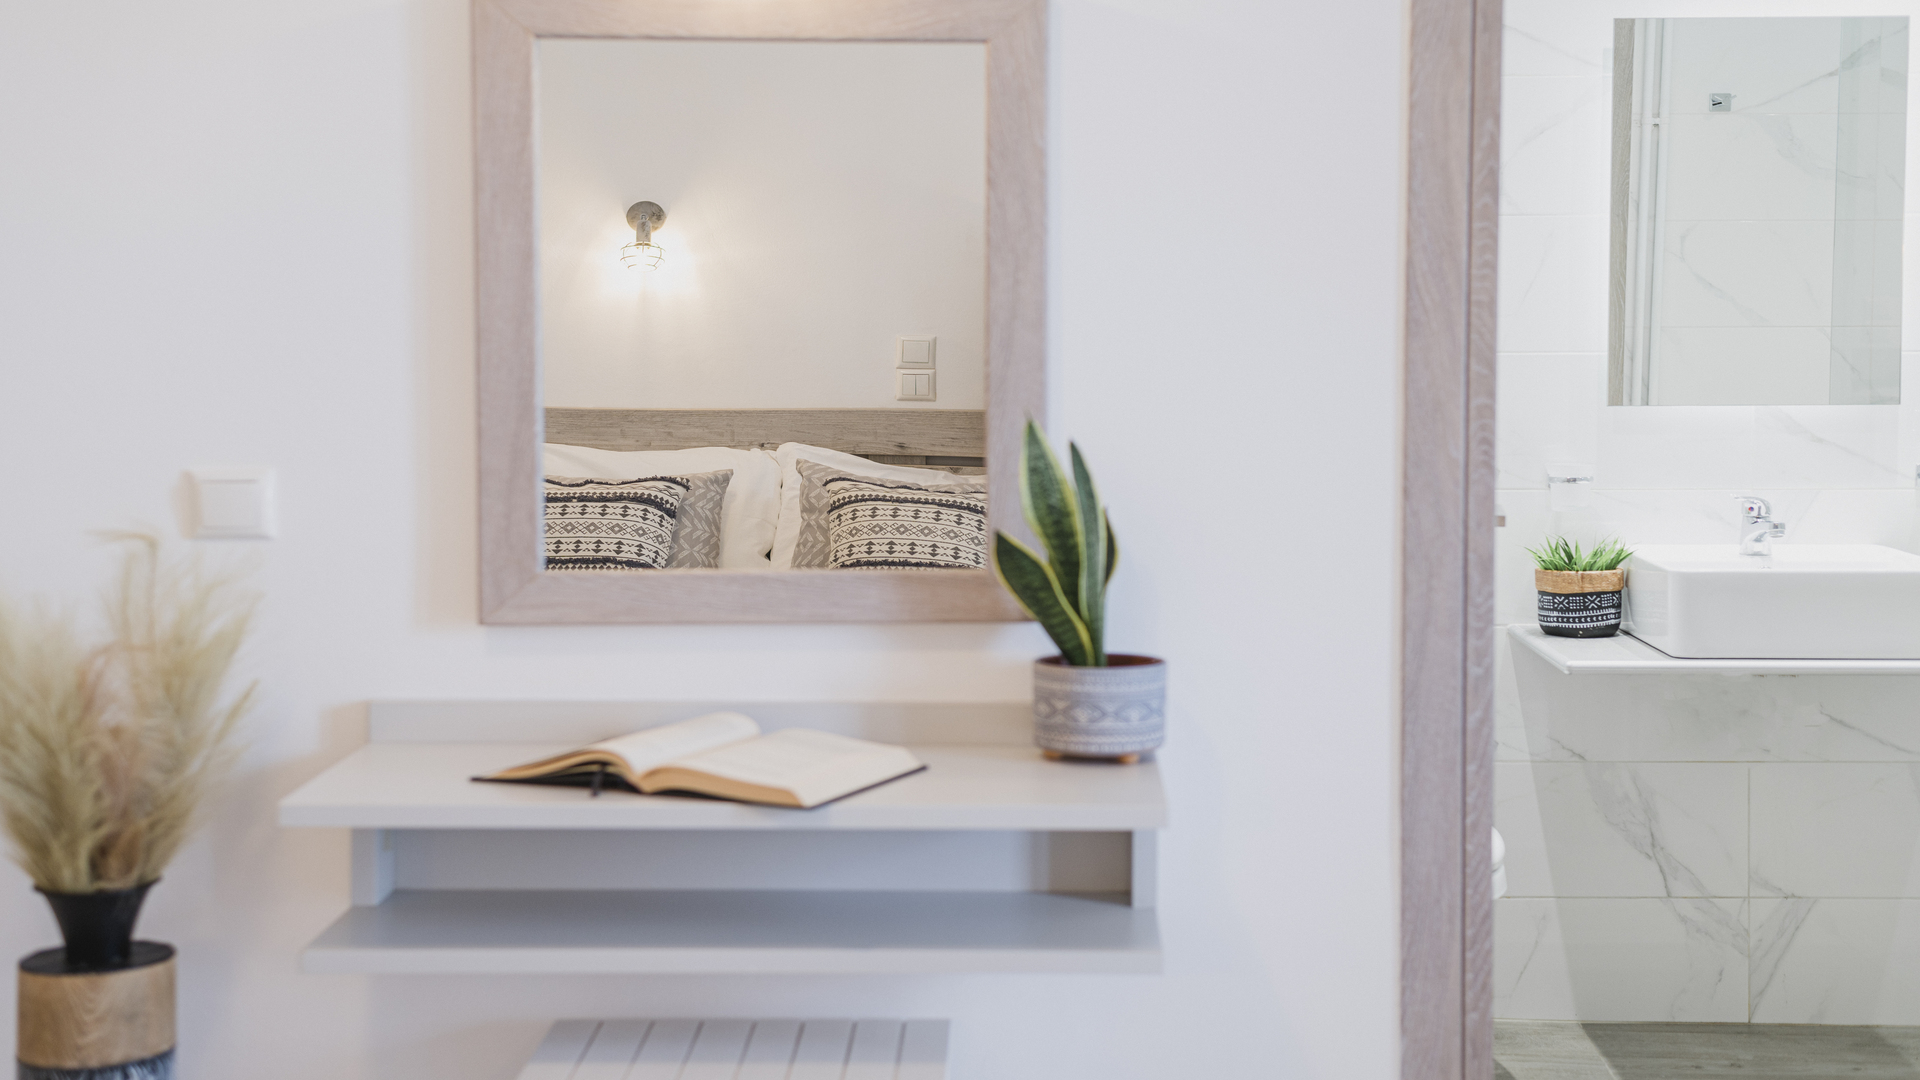
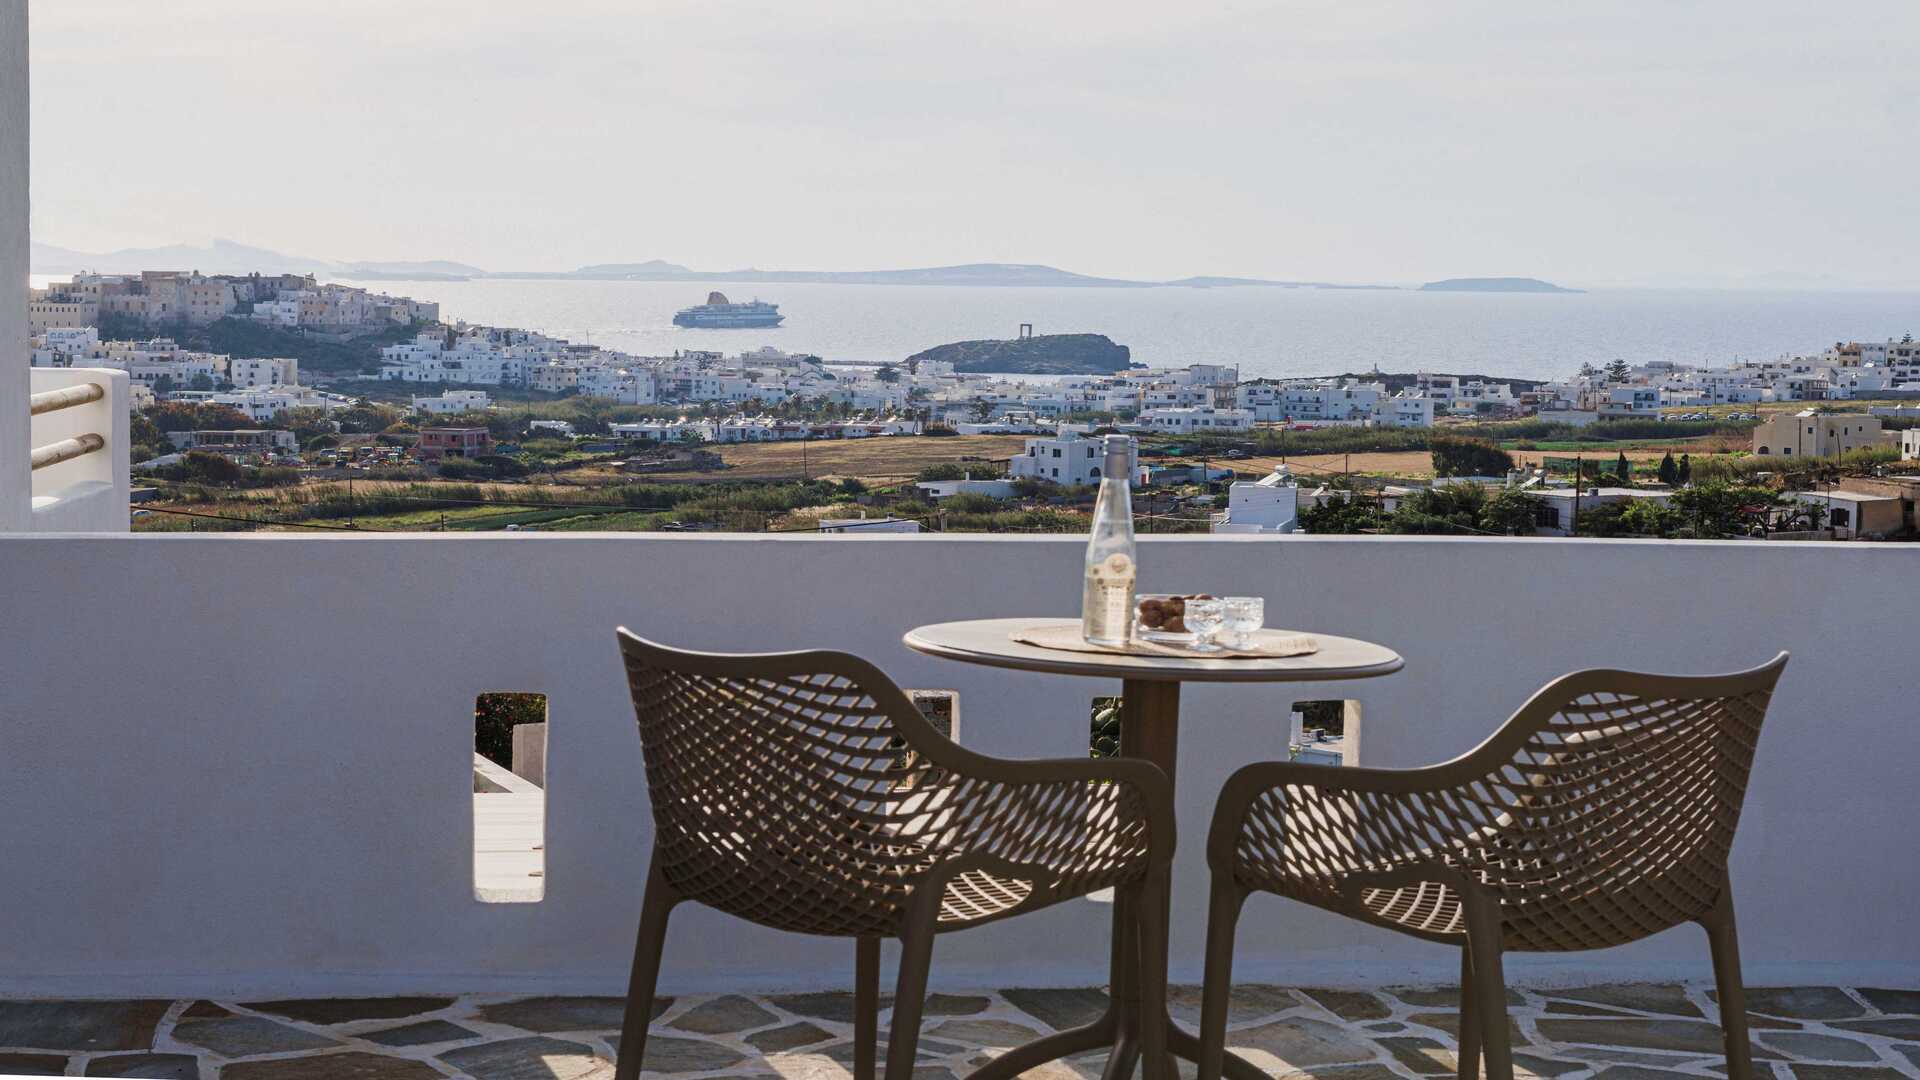
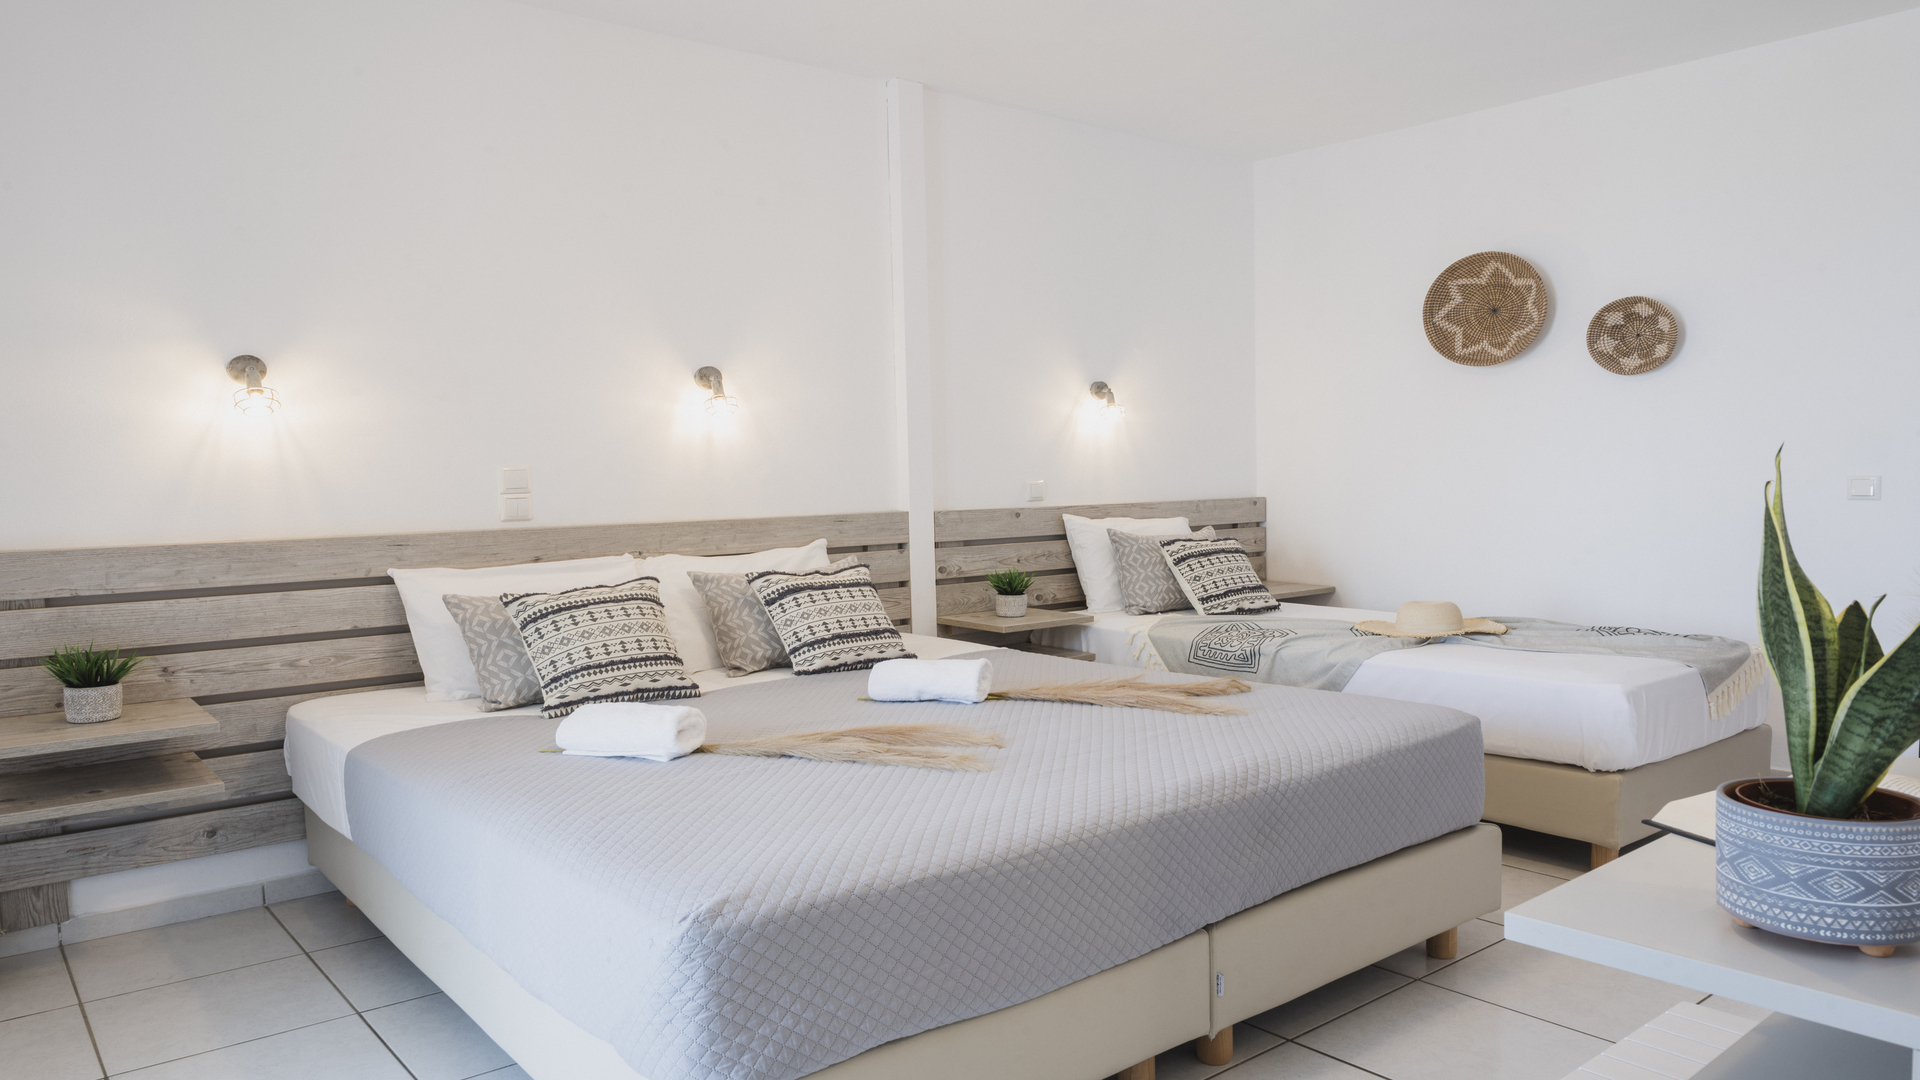
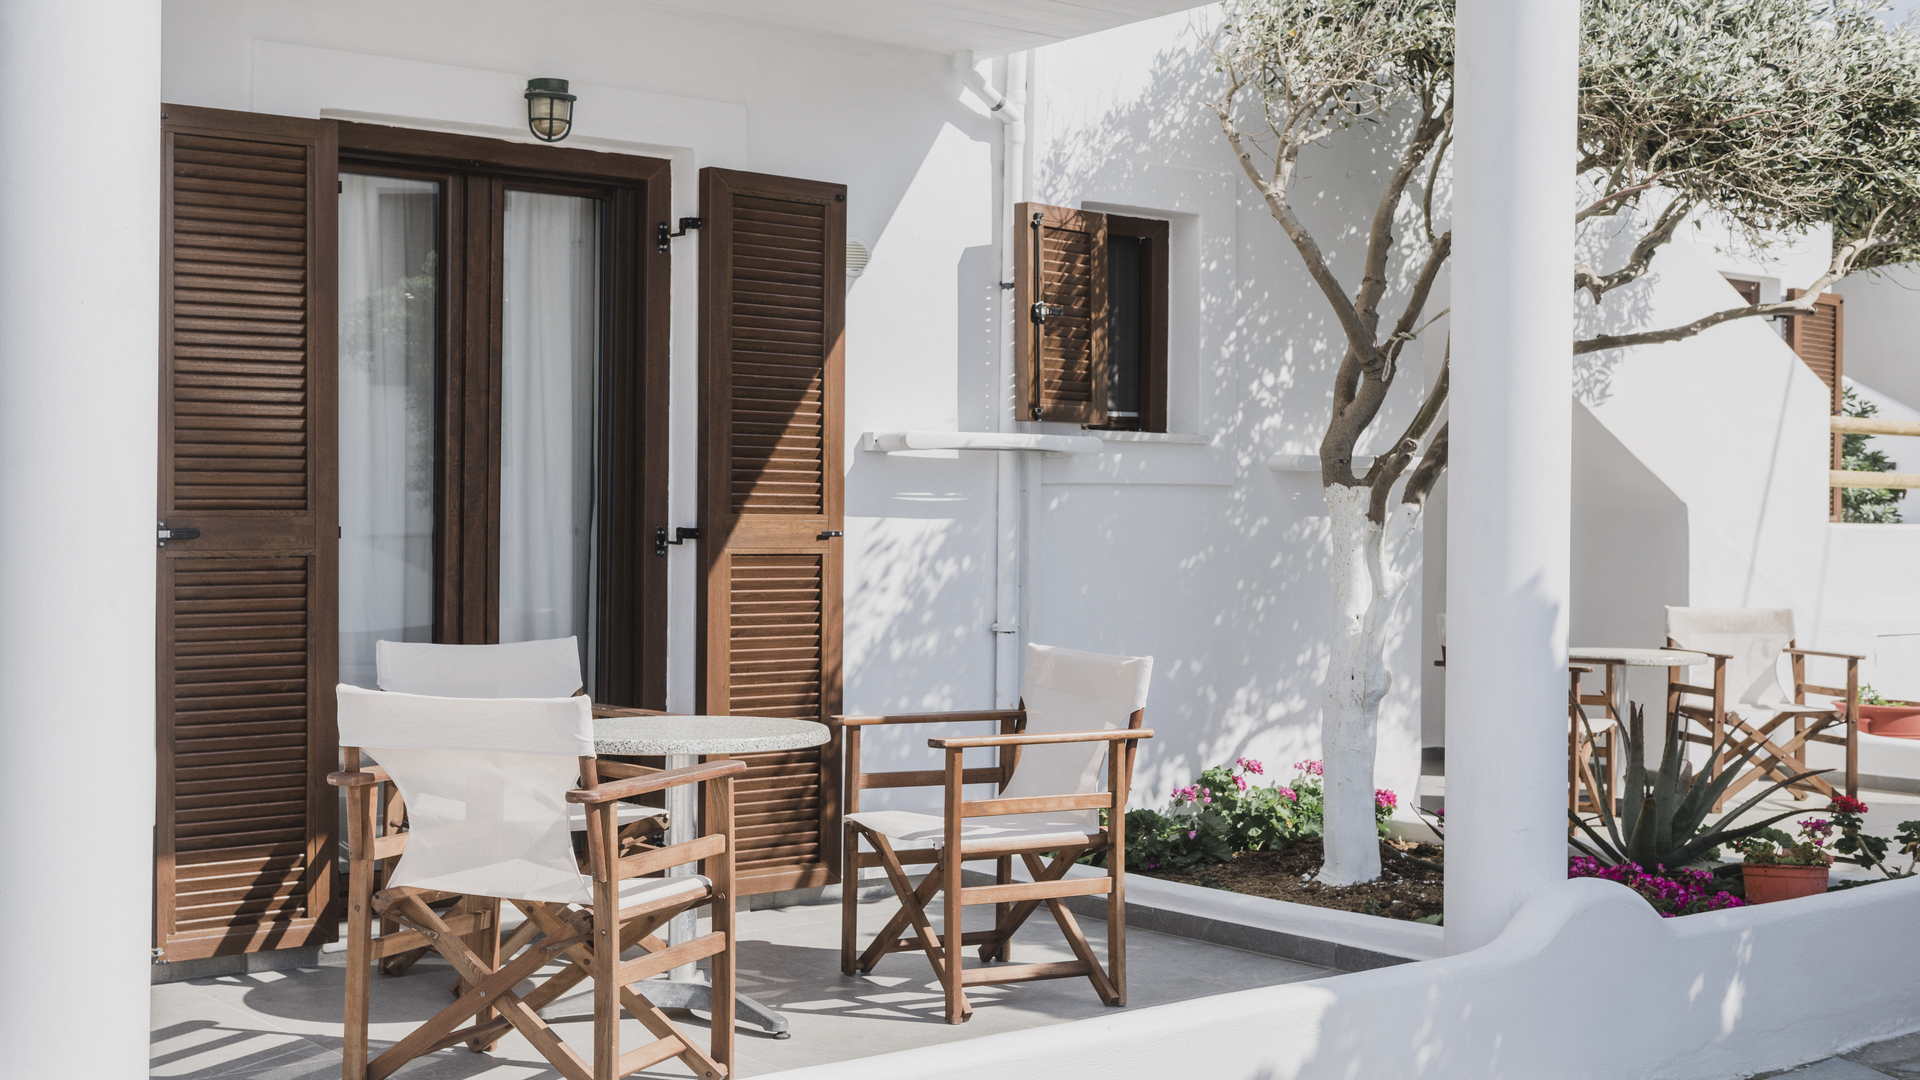
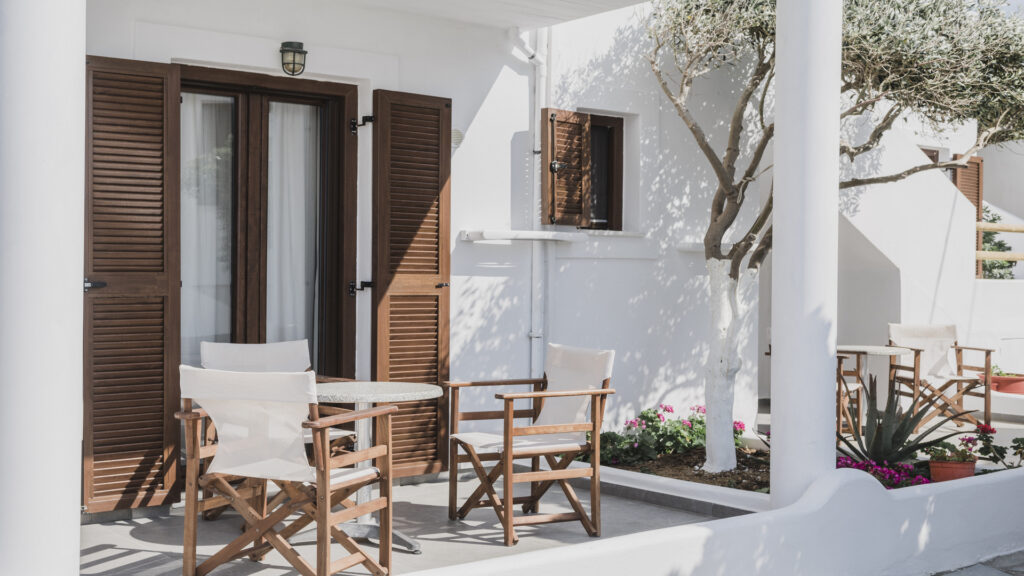
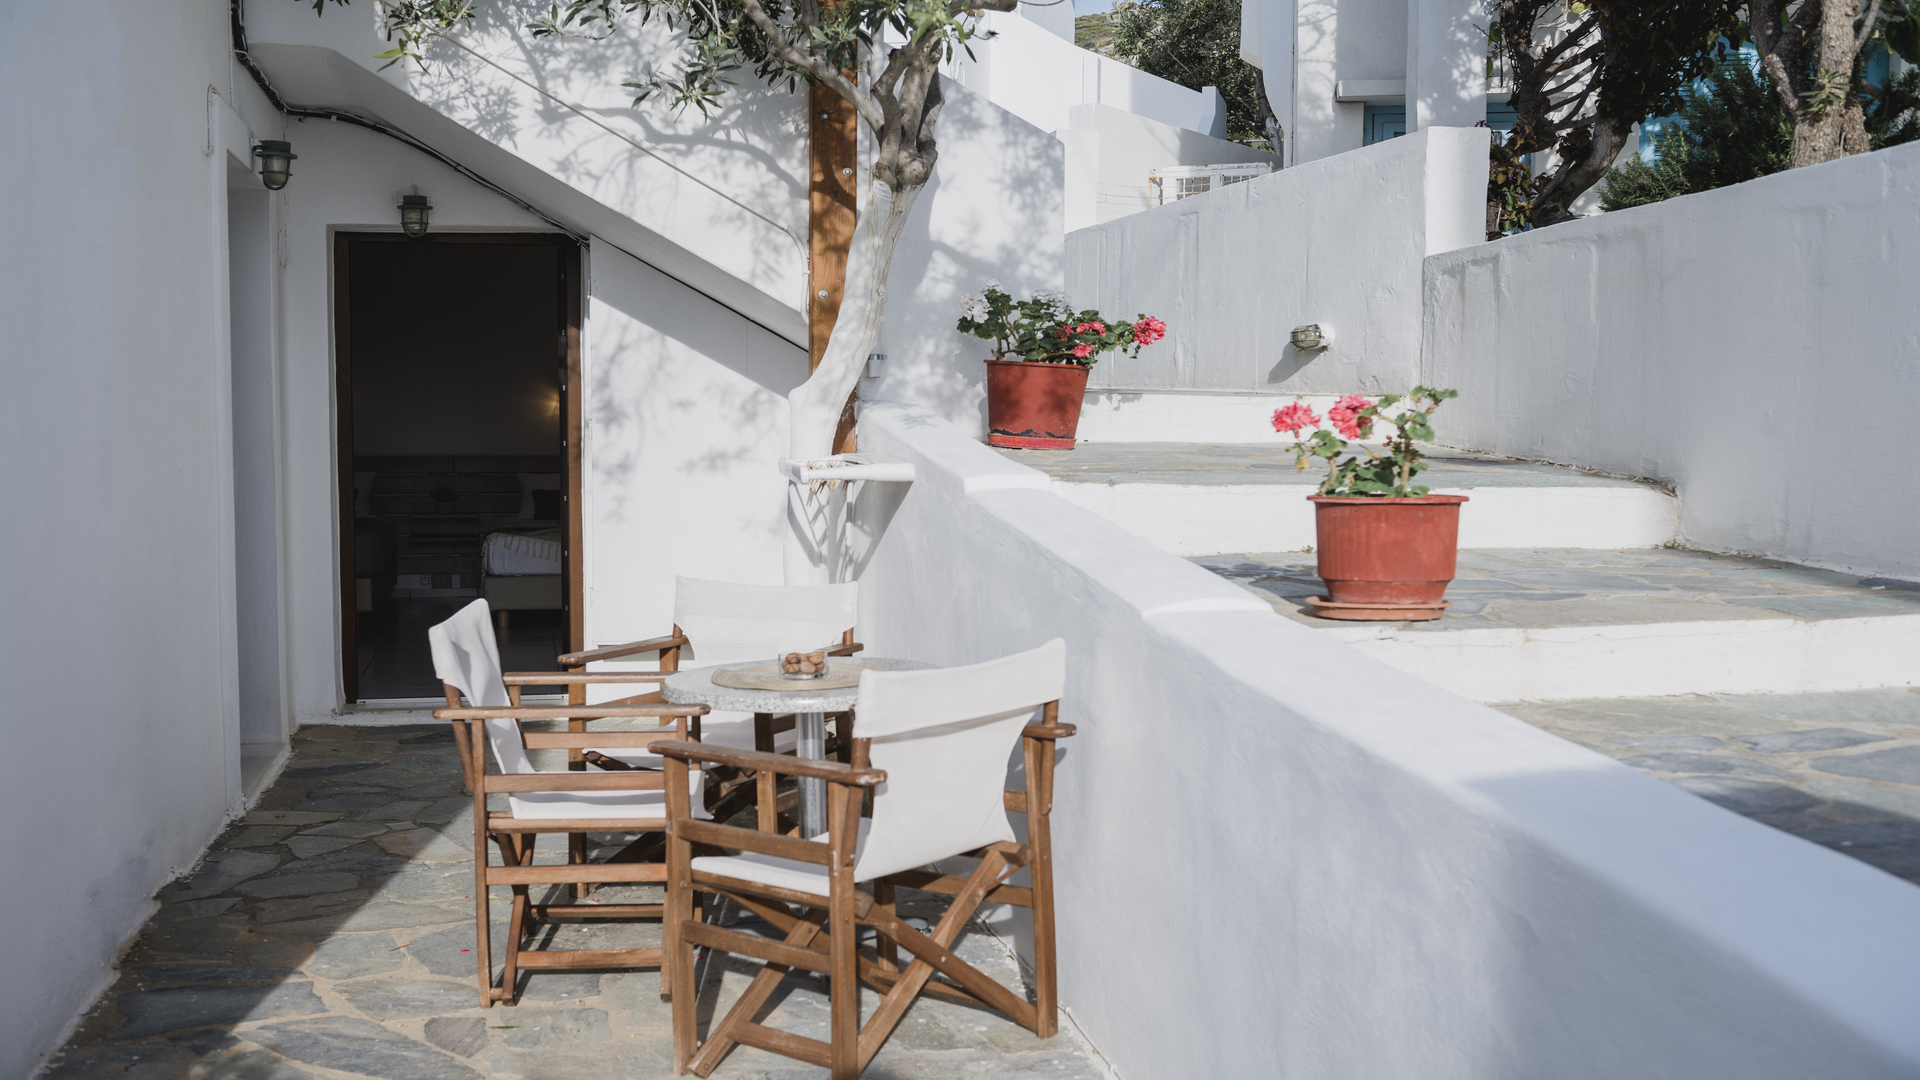
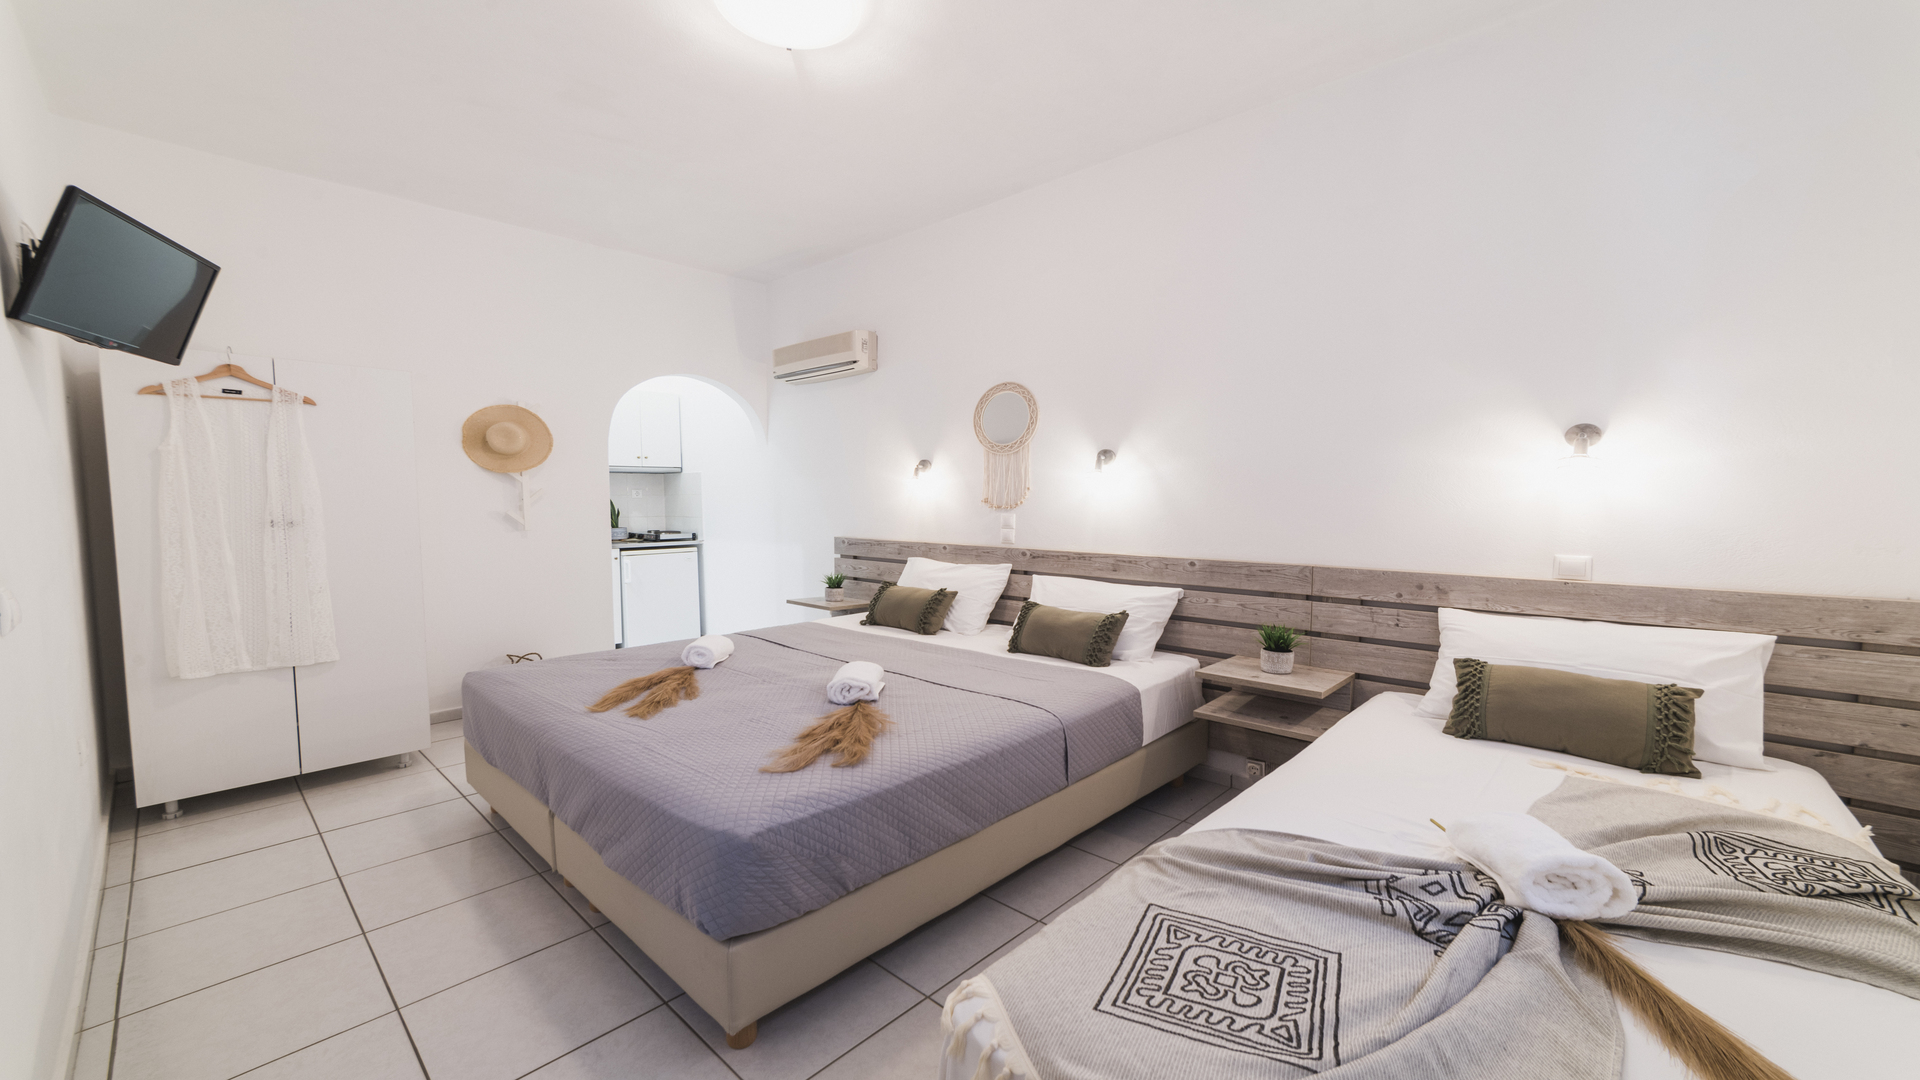
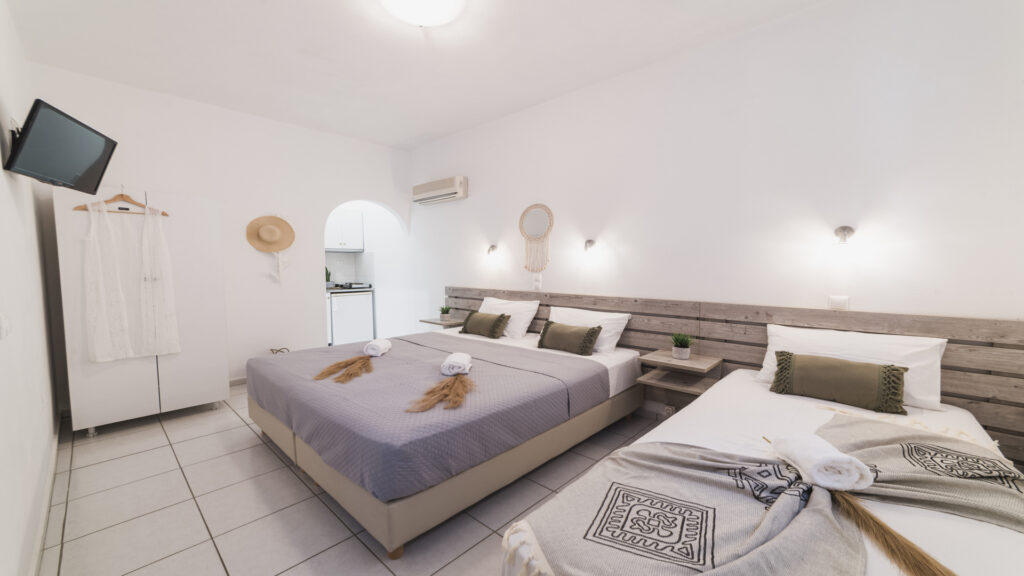
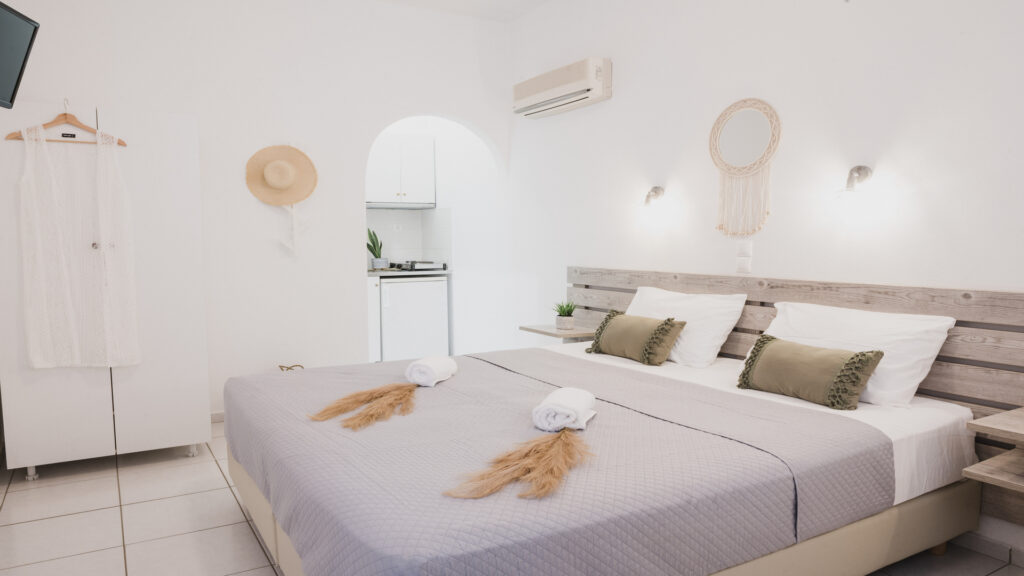
OUR GALLERY
Close Menu
Home
Accommodation
Double Room
Triple Room
Deluxe Suite with sea view
Deluxe Double Room with sea view
Deluxe Double Room with balcony and sea view
Deluxe Triple Room with sea view
King Suite with sea view
Superior Suite with sea view
Naxos Island
Gallery
Contact Us
Book Now
facebook
instagram
tripadvisor
phone
email